
Lets Put Some Parts Inside Already!
|
|
Next
I removed the big riser, this was the real challenge. Since I
had to cut it out in multiple pieces I had a big hole in the bottom.
So I went to Lowes and bought a piece of clear plastic for like
$2. I used a hack saw to cut off some of the length and height.
Then I used some standard Epoxy to attach the clear plastic panel
to the nes case.
|
|
Next,
I put in my Mini-ITX 800 mother board to see how it fit. Only
one word describes it: close. Then I put in the power switch,
it didn't fit. So, like it said earlier, I cut off part of the
switch board. When I put the switch back in I was amazed how closely
it fit.
|
 |
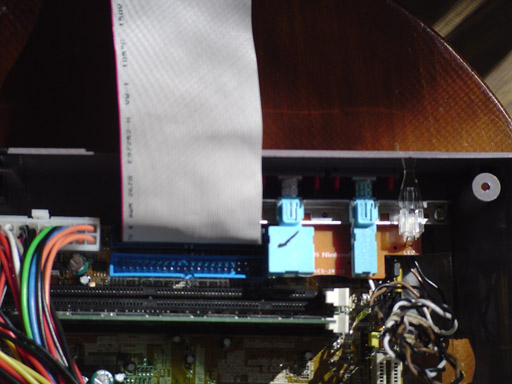 |
Look
how ridiculously close the switch is to the IDE port! It took a
couple of tries to make it fit correctly.
NOTE: midway through project I had to rewire the power switch, taking it in and out off the case too many times. Be careful is all that I'll say. |
|
Next,
I took measurements of the back of the motherboard and cut the
case some more. As you can see I just cut one big whole in the
back of the case. The Mini-ITX comes with a metal plate that as
all the holes pre-cut. You can beat factory precision. I then
mounted the fan just on the left side of the board. It's a 1.3"
fan, it fit perfectly.
|
 |
Next >>