
The Completed NESpc
|
Here's
the back of the completed nes. I added the MegaMan sticker to
the fan. And a label above the switch to help differentiate between
RCA and S-Video. If you look just below the right corner of the
black detailing on the top, you'll notice the adapter for the
power brick.
|
|
|
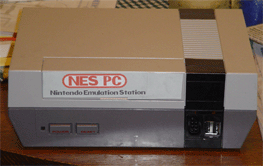
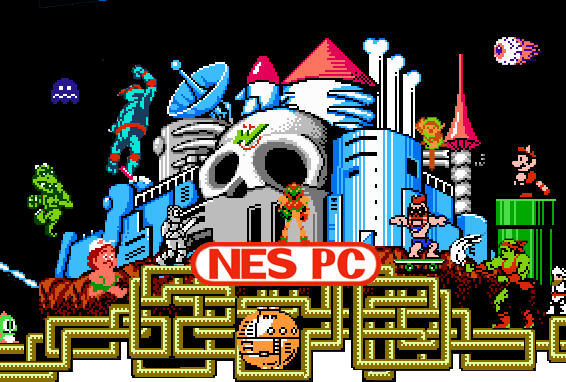
The
completed NESpc with the custom lable I made for the door. It
took about fifteen tries to get the grey color correct. I printed
the sticker on a CD label, then cut the edges to make it fit the
lid. Here's the image that I used. NESpc
Logo.
|
|
|
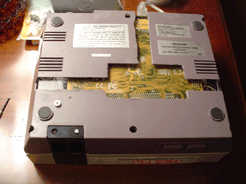
I
love this photo. This is the bottom of the NESpc. It's cool that
you can see the motherboard threw the bottom, but it's protected
by the clear plastic. See the out of place screw by the bottom
left front skid pad? That's the screw that holds in the USB hub
mount.
|
|
|
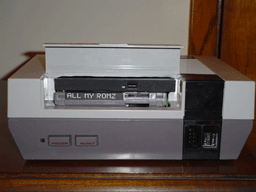
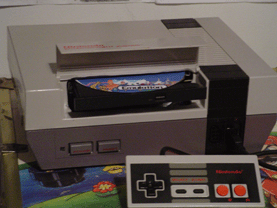
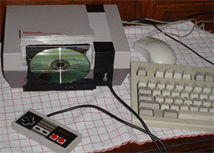
The
front and inside again. I don't have anything more to say about
construction. I have a few more photos to share thoe. These were
taken before I made the label.
If you have any questions or comments email me x@xero.nu or use verbal.xero.nu |
|
|
Ready
to start controlling the action?
Click Here |

