
PC USB NES Controler
|
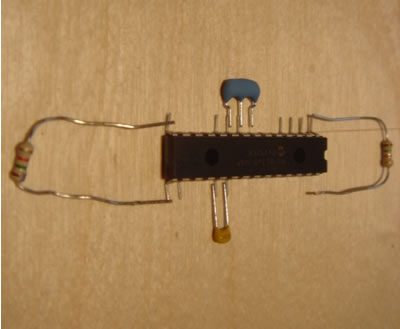
Here's
the reto kit. (dousn't really seem like a kid douse it?) The big
black chip has the usb processing instructions. Eight of them.
One for each button; up, down, left, right, start, select, b,
and a.
|
|
|
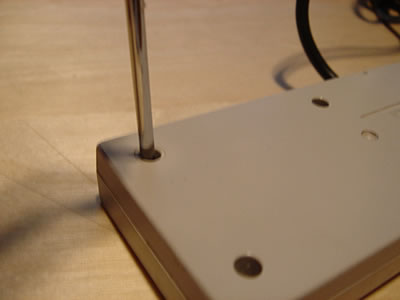
Unscrew
the gamepad case with a philips head screw driver. I think this
was the hardest part! The japanese assembly line really workers
really knew what they were doing.
|
|
|
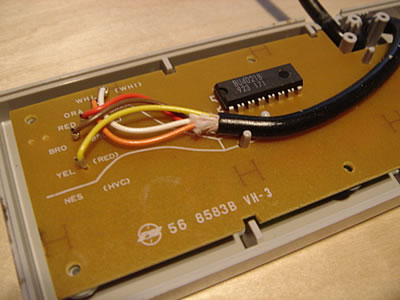
Inside
the controller you will find the circut board with five wires
attached. I think it's amazing how there's basically nothing inside
the case.
|
|
|
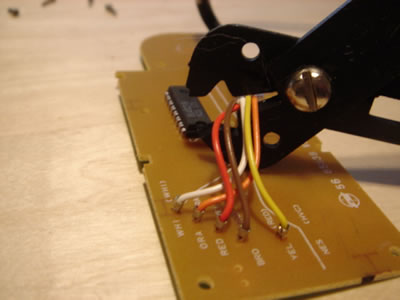
The
next step is to cut off and discard the old nintendo cord. Make
sure to leave some bare wires. When you re-wire it to the USB
chip you will need some slack.
|
|
|
After
that you need to strip the old NES wires. Removing the entire
circut board from the case is not necessary.
|
|
Here's
the wireing diagram that comes with the retro kit. At the core of
the kit is a micro controller- PIC16C74, this little chip is well
known in the USB engineering circles for creating USB based hardware. |
|
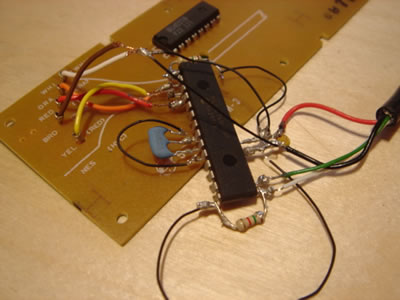
Also
included in the kit are two resistors, two capacitors, and some
wires. This is how the whole thing looks after it's all solderd.
If your weary about this part, take note, this was the first thing
I ever soldered. And mine woks great! All you need is a steady hand
and some patience. |
|
|
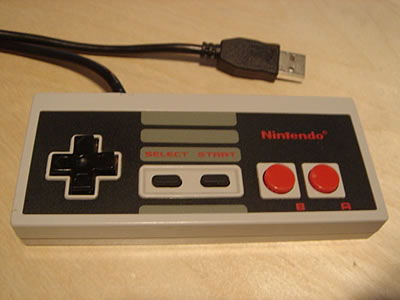
This
is the sweetest thing ever. Whether you have an NESpc or not.
Just plug in the controller, XP makes that noise, and that's it.
Open up your emulator, I use FCE Ultra, and it discovers the retropad
automatically.
|
Deskmods >>

