


Cracking the Case and Re-Wiring the Switch
 |
First
off we need to open the nintendo. It's pretty simple, there's like
20+ philips head screws. You need to save at least ten of them.
I got my nintendo on ebay. They guy had no idea if it worked or not. He didn't have the a/v hookups, or the power supply. Thus i had no remorse opening the case and gutting the nes. |
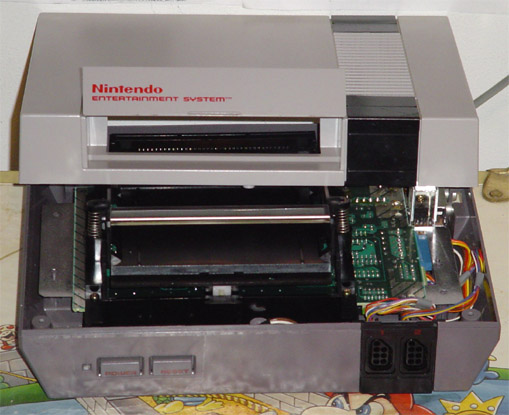
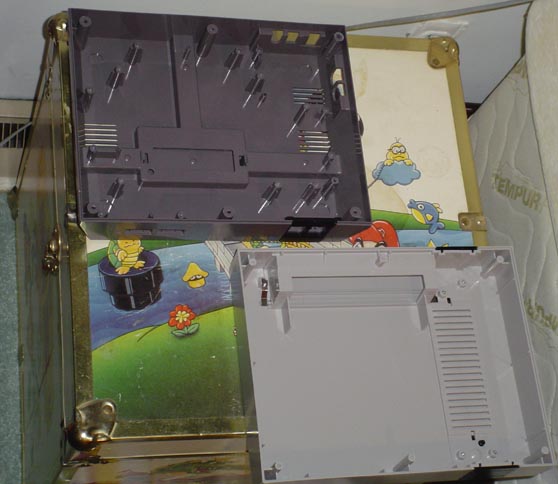
The
inside of the case is riddled with risers, little pieces of plastic
that held up the innards of the nintendo from touching the bottom
of the case. These makes just throwing any random computer parts
into the case impossible. So let's do some measurements: the top is 10 1/8" X 8" it is a shade under 3 1/2" high and the bottom is 9" X 8", since it angles in a bit at the bottom 5 7/8" X 1 1/4" is the front of the door 5 3/4" X 1 1/2" is the top of the door |
 |
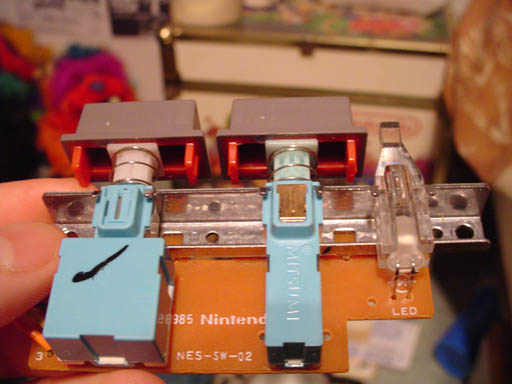 |
The
next thing is the power switch. I was a little worried since I've
only ever soldered once. The picture is of the original nes switch.
notice on the blue part of the right switch (power) the piece of
copper? That's what holds the switch in. This makes the cpu just
start for a minute then just keep restarting. I just pried it out
with a screw driver. There's a little staple in there too. |
I
took the LEDs from an old computer and cut the light off the end.
I then procceded to soldered a wire to each of the existing solder
points on the switch board. Look at the right button (the reset),
see the two solder points along the bottom? I didn't end up using
it, so that's what the power side looked like before. I used the
original nes LED too, I just solder a wire on each of those points
as well. These wires have two-pin jumpers that connect to the motherboard.
. |
 |
|
|
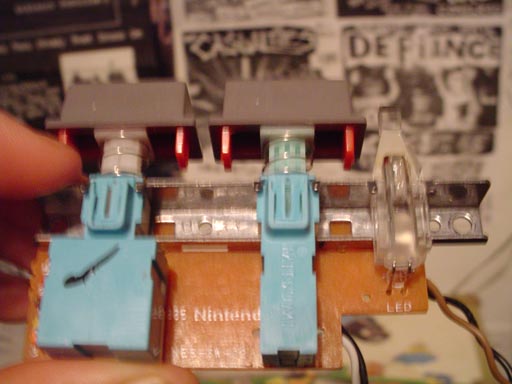
This
is the switch after. Notice the lack of copper on the power switch.
And you can kinds see the new wires coming from the back. Along
the far left side are where the original nes wires where. I ended
up sanding them off with my dremel for space. That was easy because
I didn't have to worry about messing up the circuits, since I over-ridded
them by soldering the new wires on the device directly.
|
Next >>